
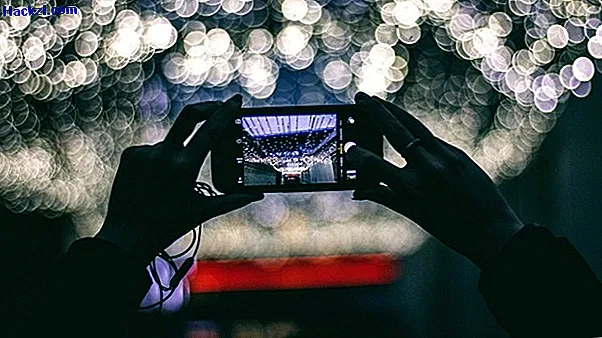
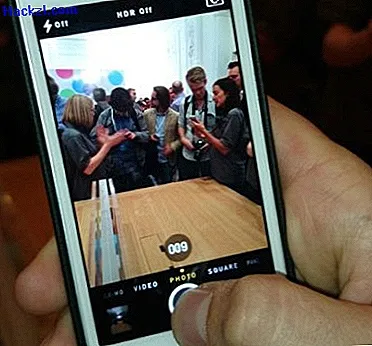
iPhone: 10 เทคนิคเพื่อภาพที่ดีกว่า
ด้วยเทคนิคที่ถูกต้องคุณสามารถถ่ายภาพด้วยกล้องไอโฟน เราจะแสดงให้คุณเห็นว่า
1. เคล็ดลับเพื่อการถ่ายภาพ iPhone ที่ดีกว่า: ทำความสะอาดเลนส์กล้อง
มันอาจฟังดูแบน แต่เลนส์ที่ไม่บริสุทธิ์มักจะเป็นสาเหตุของผลลัพธ์ภาพถ่ายที่ไม่เหมาะสม
- บ่อยครั้งที่มันไม่ชัดเจนในทันทีว่าตัวอย่างเช่นภาพที่พร่ามัวสามารถนำมาประกอบกับเลนส์กล้องสกปรก
- ทำความสะอาดเลนส์ iPhone ของคุณเป็นประจำด้วยผ้าไมโครไฟเบอร์เพื่อป้องกันการสูญเสียคุณภาพ

2. เคล็ดลับสำหรับการถ่ายภาพ iPhone ที่ดีกว่า: อย่าใช้การซูม
เพื่อคุณภาพของภาพที่ดีที่สุดคุณควรหลีกเลี่ยงการใช้ฟังก์ชั่นซูมของกล้องไอโฟนของคุณ
- คุณภาพของภาพลดลงอย่างเห็นได้ชัดด้านล่างซูม iPhone, ภาพถ่ายปรากฏเป็นพิกเซลและมีรายละเอียดน้อยกว่า
- นี่เป็นเพราะ iPhone ของคุณใช้ดิจิตอลซูม ส่วนภาพถูกครอบตัดและขยายแล้วเท่านั้นและอย่างเช่นในกรณีที่มีการซูมด้วยเลนส์ปรับด้วยการตั้งค่ากลไกในเลนส์
3. เคล็ดลับเพื่อการถ่ายภาพ iPhone ที่ดีกว่า: ภาพระยะใกล้
กล้อง iPhone ของคุณมาเป็นของตัวเองจริงๆเมื่อถ่ายรูปจากระยะใกล้
- แทนที่จะใช้การซูมดิจิตอลคุณควรถ่ายภาพวัตถุระยะใกล้
- สิ่งนี้ไม่เพียงรักษาคุณภาพของภาพที่ดีที่สุด แต่คุณยังสามารถสร้างเอฟเฟกต์ฟิลด์ที่ล้ำสมัยโดยเน้นไปที่วัตถุ
4. เคล็ดลับเพื่อให้ภาพถ่าย iPhone ดีขึ้น: ใช้โหมด HDR
โหมด HDR ของกล้อง iPhone สามารถปรับปรุงผลการถ่ายภาพของคุณได้อย่างชัดเจน
- หากคุณเปิดใช้งานโหมด HDR ในแอพกล้องถ่ายรูป iPhone ของคุณจะถ่ายภาพสามภาพด้วยค่าแสงที่แตกต่างกันและรวมเข้าด้วยกันเพื่อให้ได้สภาพแสงที่เหมาะสมที่สุด
- โหมด HDR เหมาะอย่างยิ่งสำหรับภาพถ่ายในสภาพแสงที่ยากเช่นเมื่อแสงของวัตถุที่จะถ่ายภาพแตกต่างอย่างมากจากแสงของสภาพแวดล้อม
- หากคุณไม่ต้องการตัดสินใจว่าโหมด HDR คุ้มค่าคุณสามารถตั้งค่าให้เป็นอัตโนมัติ iPhone ของคุณจะวิเคราะห์ส่วนภาพและเปิดใช้งานฟังก์ชั่น HDR หากคาดว่าจะได้ผลลัพธ์ที่ดีขึ้นตามสภาพแสง

5. เคล็ดลับเพื่อให้ภาพ iPhone ดีขึ้น: ฟังก์ชั่นถ่ายภาพต่อเนื่อง
ด้วยความช่วยเหลือของฟังก์ชั่นภาพอนุกรมคุณสามารถจับภาพวัตถุที่เคลื่อนไหวได้อย่างเหมาะสม
- เมื่อต้องการทำสิ่งนี้ให้กดทริกเกอร์บนหน้าจอค้างไว้ ขณะนี้อุปกรณ์ใช้หลายภาพต่อวินาทีซึ่งคุณสามารถเลือกผลลัพธ์ที่ดีที่สุด
6. เคล็ดลับสำหรับการถ่ายภาพ iPhone ที่ดีกว่า: ฟังก์ชั่นซูมสำหรับการโฟกัส
ซูมดิจิตอลของ iPhone ไม่เหมาะสำหรับการถ่ายภาพคุณภาพสูงในสถานการณ์ระยะไกล แต่คุณสามารถใช้การซูมเพื่อโฟกัสส่วนภาพที่ต้องการได้แม่นยำยิ่งขึ้น
- เมื่อต้องการทำสิ่งนี้ให้ขยายวัตถุที่เกี่ยวข้องเพื่อให้ส่วนภาพเต็มและโฟกัสโดยการแตะที่หน้าจอ จากนั้นย่ออีกครั้งแล้วกดปุ่มชัตเตอร์
7. เคล็ดลับเพื่อให้ภาพ iPhone ดีขึ้น: ปรับระดับแสงด้วยตนเอง
คุณไม่สามารถควบคุมค่า ISO และความเร็วชัตเตอร์ทีละตัวภายในแอพกล้องของ iPhone ของคุณ แต่เป็นไปได้ที่จะตั้งค่าแสงด้วยตนเอง
- เมื่อต้องการทำสิ่งนี้ให้แตะหน้าจอราวกับว่าคุณกำลังโฟกัสอยู่จากนั้นปัดขึ้นเพื่อทำให้วัตถุสว่างขึ้นหรือลงเพื่อทำให้วัตถุมืดลง
8. เคล็ดลับเพื่อให้ภาพถ่าย iPhone ดีขึ้น: โฟกัสอัตโนมัติและล็อคการรับแสงอัตโนมัติ
iPhone ของคุณตั้งค่าการเปิดรับแสงและโฟกัสโดยอัตโนมัติ
- หากคุณต้องการป้องกันการเปิดรับแสงและโฟกัสไม่ให้ถูกปรับตรงกันข้ามกับการตั้งค่าแบบแมนนวลของคุณคุณสามารถเปิดใช้งานโฟกัสอัตโนมัติและล็อคการรับแสงอัตโนมัติได้โดยกดหน้าจอค้างไว้
9. เคล็ดลับสำหรับรูปถ่าย iPhone ที่ดีกว่า: ใช้ปุ่มปรับระดับเสียงหรือ EarPods เป็นตัวกระตุ้น
แทนที่จะใช้ทริกเกอร์บนหน้าจอสัมผัสคุณสามารถใช้ปุ่มปรับระดับเสียงบน iPhone หรือปุ่มควบคุมบนหูฟัง Apple EarPod ที่เชื่อมต่อ
- ฟังก์ชั่นนี้สามารถช่วยป้องกันการเคลื่อนไหวเมื่อถูกกระตุ้นและทำให้ภาพพร่ามัว
10. เคล็ดลับสำหรับรูปถ่าย iPhone ที่ดีกว่า: ใช้ขาตั้งกล้อง
ใช้ขาตั้งกล้องเพื่อความมั่นคงสูงสุดเมื่อถ่ายภาพ
- คุณสามารถต่อ iPhone ของคุณเข้ากับขาตั้งกล้องแบบคลาสสิกโดยใช้อะแดปเตอร์สำหรับยึด
- นอกจากนี้ยังมีขาตั้งกล้อง iPhone แบบพิเศษพร้อมที่ใส่ในตัวสำหรับอุปกรณ์ของคุณ
